Back to guides
Adding Custom CSS to your AI chatbot
Learn how to customize your AI chatbot's interface with our guide to commonly used CSS snippets. Improve your interface's functionality and look.
Customizing and white-labeling your AI chatbot
As part of the customization options, you can also add Custom CSS to further tailor the appearance of your AI chatbot.
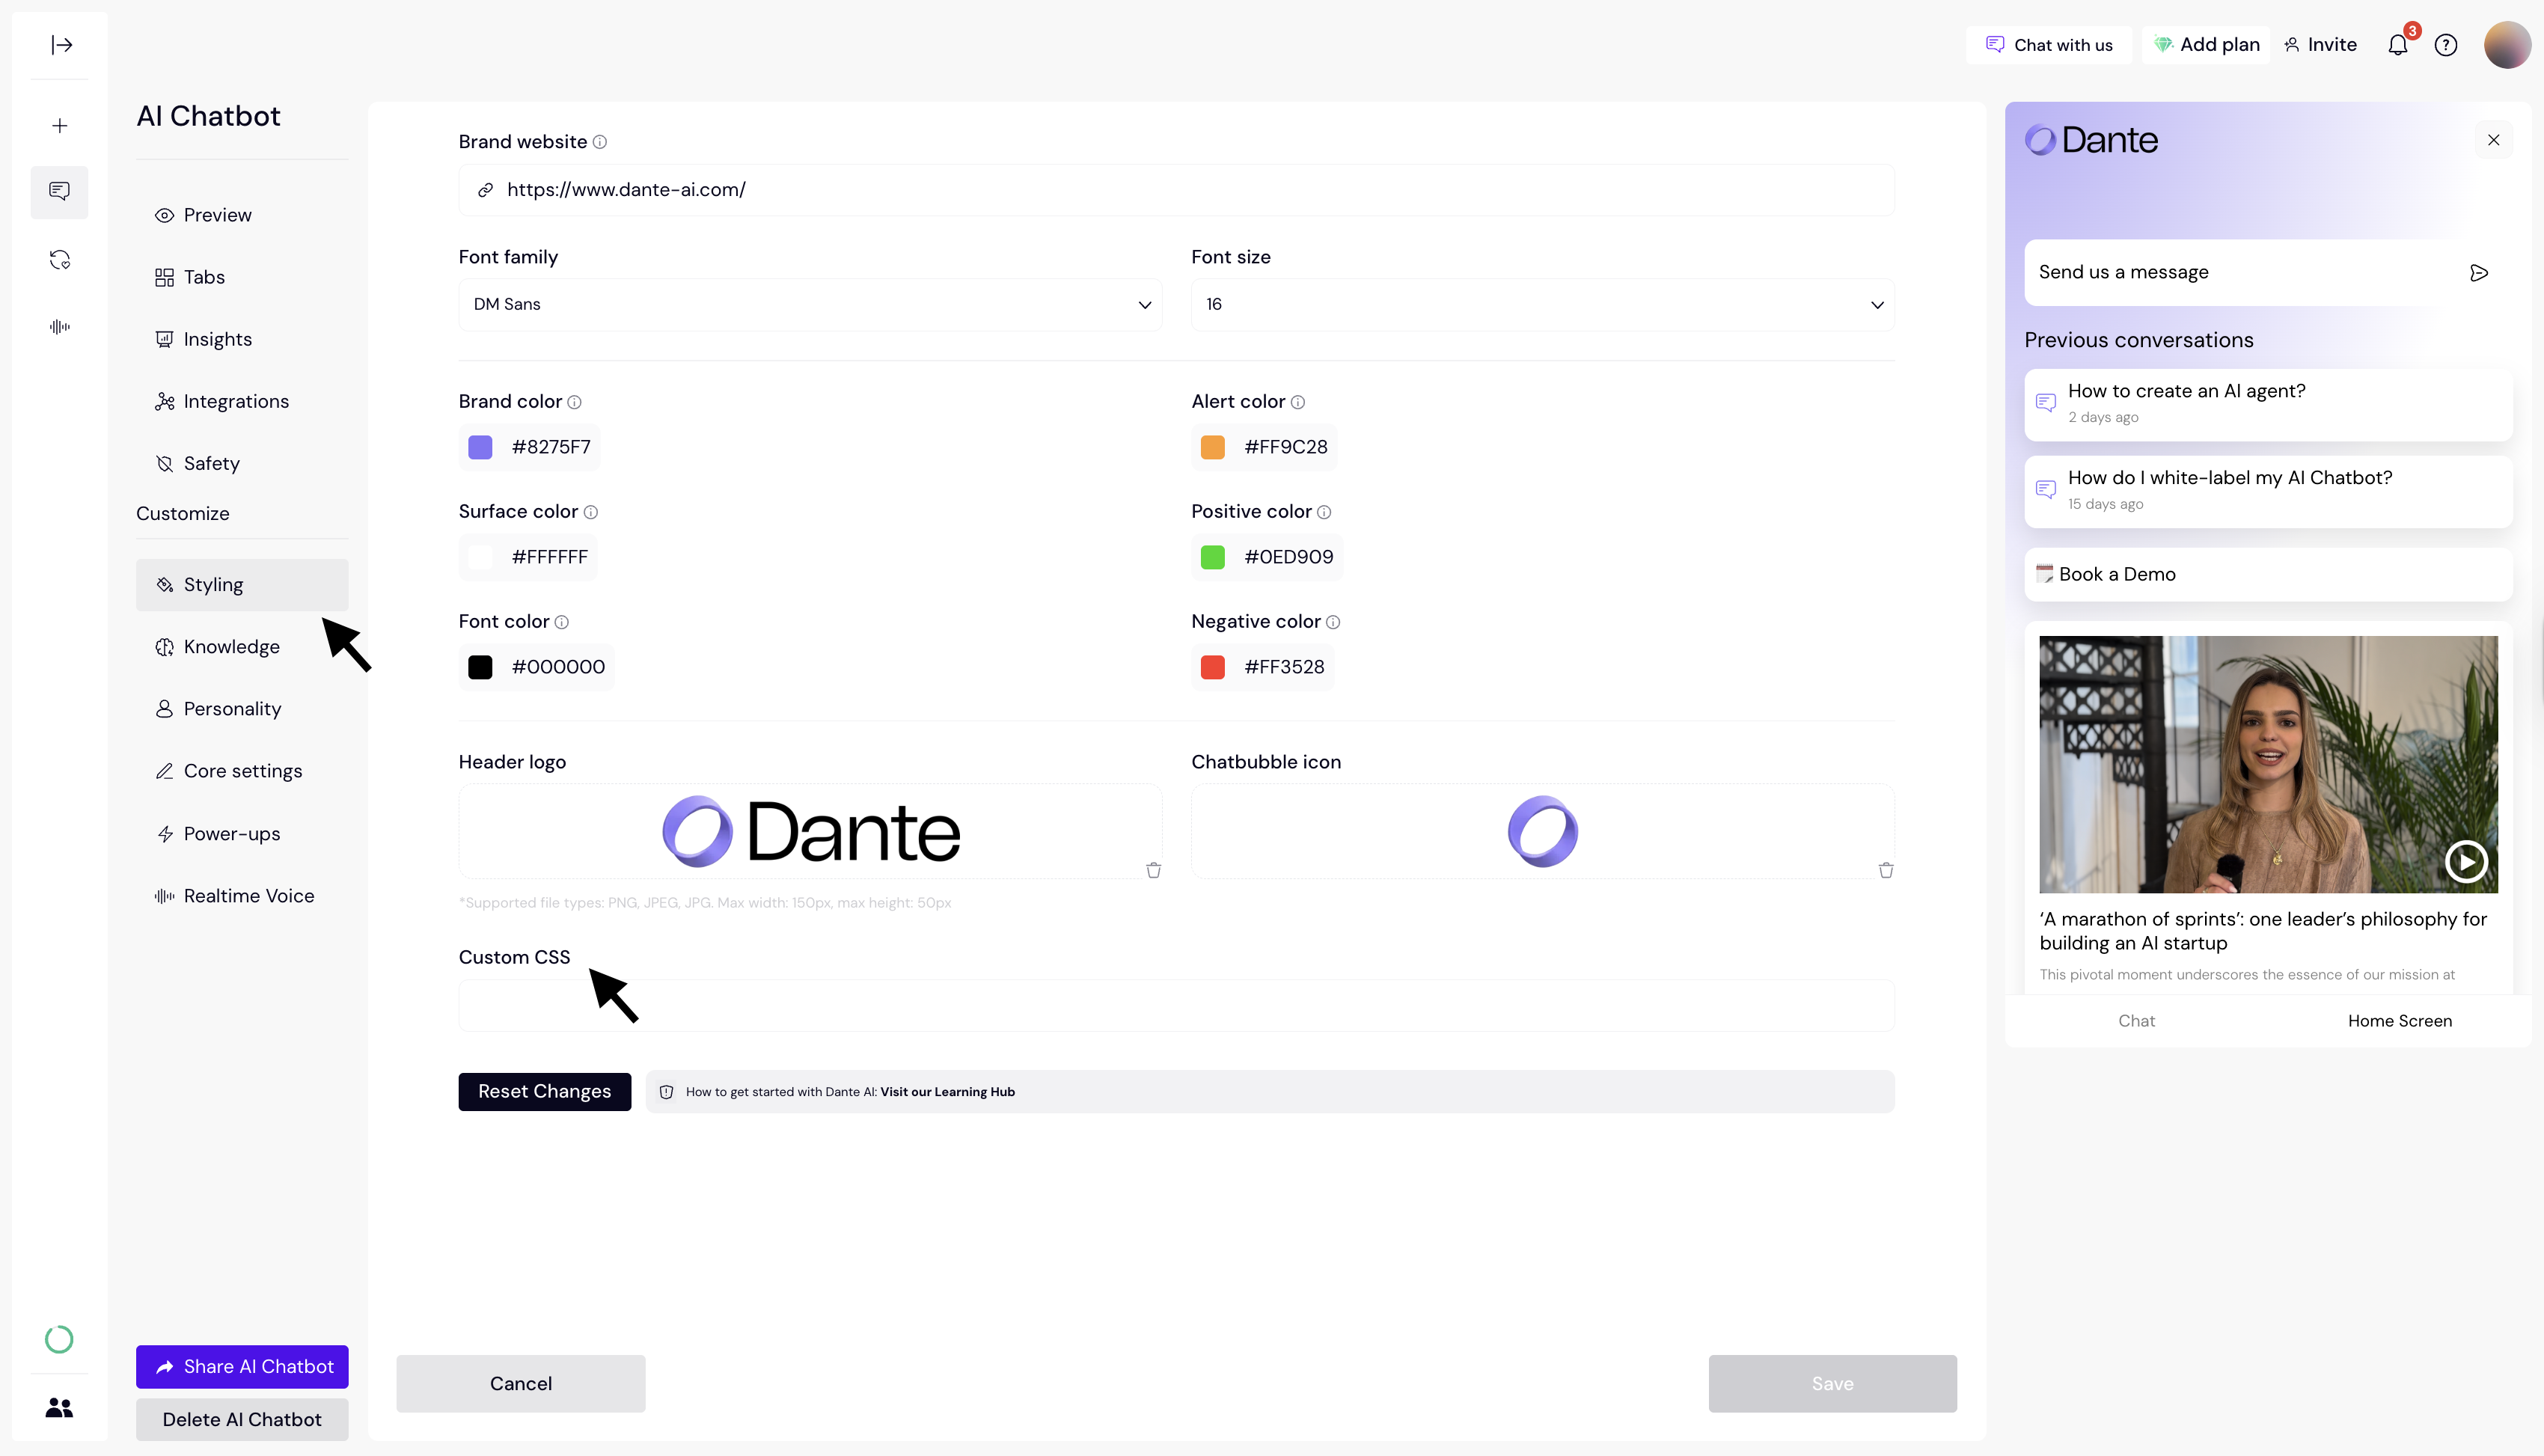
To do this, simply navigate to the Styling menu in the left-hand sidebar and enter your custom CSS into the Custom CSS field.
If you're unsure how to achieve a specific design or functionality, you can ask ChatGPT, Claude, or any other AI model to help you generate the necessary CSS code.
And if you need further assistance, feel free to reach out to us at support@dante-ai.com — we’re happy to help!